


Waterproofing, a quick start guide from Impregnationoutlet.
Do it yourself - tips and tricks
Why impregnating?
In the European climate which tends to become more and more humid, the need for impregnation products increases to waterproof walls, roofs and floors.
Waterproofing in this sense is in fact not a correct wording, as hydrofophobing would be better describing the process. To keep things simple we will refer to impregnating or waterproofing where in fact hydrophobing is meant.
The components impregnates are made of should enter deep into the building material and block the entrance of water, whereas still allowing water damp to leave the surface. This immediately reveals the difference between high and low quality impregnates as the latter will keep the water damp inside with all consequential damages.
There are some typical reasons for impregnating walls, floors and roofs.
How expensive is it to impregnate my house?
It is often thought that impregate is expensive which, in fact, is untrue. At least this is the case when you do it yourself. When outsourcing is preferred, the costs will be completely different. This is not only due to hour rates but also due to call out charges, safety regulations for working at height and so on. Practice shows that doing it yourself will save you 50-80%.
Impregnating - requisites and plan
By impregnating your property yourself you will have the quaranty of lower costs as well as being on top of a proper result.
Requisits
- Impregnating products
- Low pressure spray for fluid impregnates, and a (long haired) roller for the creams.
- Cover material (only at the fluid impregnates, not for the creams)
- Cover alls and gloves.
- Stairs or scaffolding
Step-by-step plan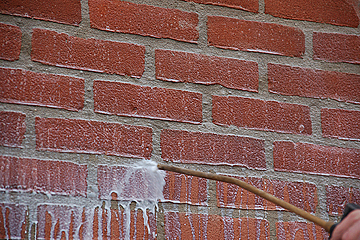
The to be impregated surface should be clean and sufficiently dry. This can be done by cleaning the surface with water under high pressure, or to have it sand blasted by a specialised company.
In the European climate which tends to become more and more humid, the need for impregnation products increases to waterproof walls, roofs and floors.
Waterproofing in this sense is in fact not a correct wording, as hydrofophobing would be better describing the process. To keep things simple we will refer to impregnating or waterproofing where in fact hydrophobing is meant.
The components impregnates are made of should enter deep into the building material and block the entrance of water, whereas still allowing water damp to leave the surface. This immediately reveals the difference between high and low quality impregnates as the latter will keep the water damp inside with all consequential damages.
There are some typical reasons for impregnating walls, floors and roofs.
- Prevent water from entering the wall or even entering living areas.
- Create a water repellent surface.
- Mould prevention; using impregnates reduces the growth of mould and algae on the walls.
- Increased isolation values due to a continuously dry wall.
- Protection against acid rain
- Protection against spray paint.
- Impregnates have a fire retarding effect
- Protection against frost damage.
- Prevention of efflorescence (lime, salts, rust etc) on masonry and underlaying windows.
How expensive is it to impregnate my house?
It is often thought that impregate is expensive which, in fact, is untrue. At least this is the case when you do it yourself. When outsourcing is preferred, the costs will be completely different. This is not only due to hour rates but also due to call out charges, safety regulations for working at height and so on. Practice shows that doing it yourself will save you 50-80%.
Impregnating - requisites and plan
By impregnating your property yourself you will have the quaranty of lower costs as well as being on top of a proper result.
Requisits
- Impregnating products
- Low pressure spray for fluid impregnates, and a (long haired) roller for the creams.
- Cover material (only at the fluid impregnates, not for the creams)
- Cover alls and gloves.
- Stairs or scaffolding
Step-by-step plan
The to be impregated surface should be clean and sufficiently dry. This can be done by cleaning the surface with water under high pressure, or to have it sand blasted by a specialised company.
- Make sure your wall is dry and the weather forecast allows the impregnate to dry. Some impregnates can still be applied in winter.
- In case the impregnate cannot be spilled on the paving stones, please cover this surface. When using fluid impregnates, it is advisable to cover the windowpanes with plastic as well. When using the creams, this is not necessary.
- Make sure to wear suitable and protecting clothes; impregnates are generally made of chemicals and might affect fabric or iritate at skin contact.
- Open the cans or buckets with impregnates.
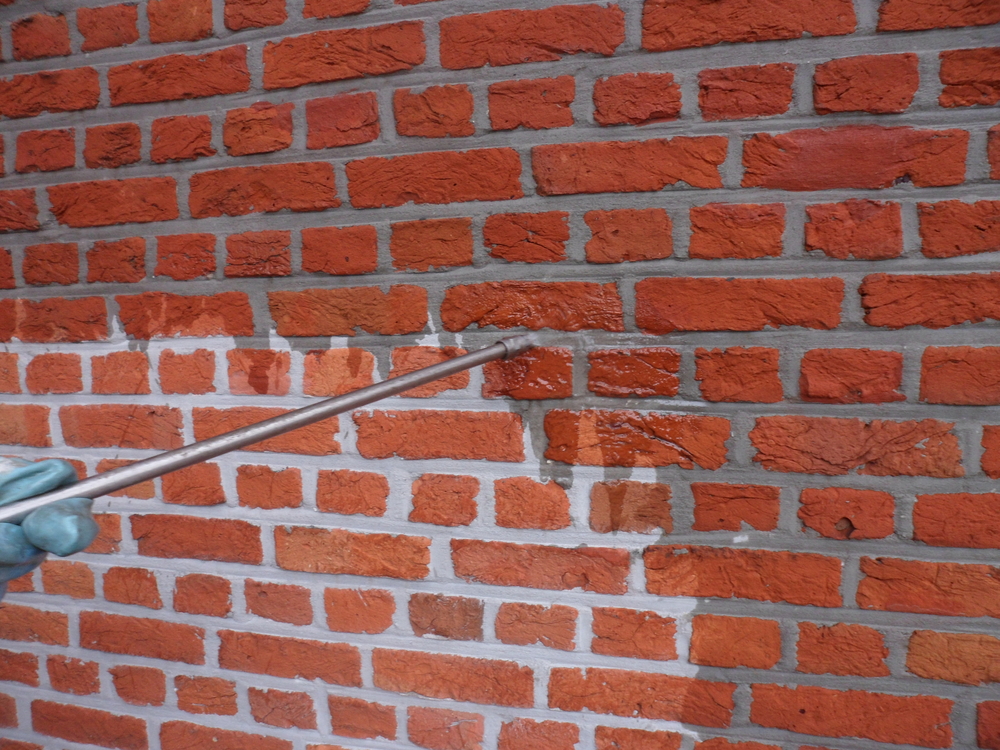
- Fluid impregnate: fill the pressure spray reservoir. Adjust the nozzle in such a way that misting will not occur and the fluids flow in a 30-50 cm long film down surface. Repeat this procedure if required.
- Creams: Fill the paint tray with the impregnate and observe the instructions given in the technical data sheet on our website. Apply the impregnate with a long haired roller or brush at the horizontal and vertical surfaces.
- Start at the bottom of the wall and work your way up in a logic pattern.
- The fluid impregnates are to be applied under low but sufficient pressure to create the film. The surface should be maximum saturated with the impregnate. Repeat this procedure until this is achieved.
- The creams are applied with long haired roller, brush or airless brush.
- Fluid impregnate: fill the pressure spray reservoir. Adjust the nozzle in such a way that misting will not occur and the fluids flow in a 30-50 cm long film down surface. Repeat this procedure if required.
- Congratulations, you impregnation action is successful.


